- $170 or 3 monthly payments of $57
Waters Edge Bracelet
- Course
- 28 Lessons
Contents
Water Edge Bracelet: Getting started and what you'll need.
Working in Argentium Silver, you will learn best practices to
texture,
fuse dust, wire and granule embellishments,
melt back edges
learn the basics of Anticlastic forming,
patination
finishing
to create an organic edge cuff suggesting pebbly shoreline and lapping water.
You can then take these techniques and create your own style and shapes for use in your own jewelry expression.
I suggest you read and view all info before you start. I try to present the info in a logical order, but we all learn differently and some info presented later in the lessons may clarify something for you.
Printing out the Step by Step Instructions and the Step by Step in photos gives you an instant visual and are handy references for future use. Make notes on them where you had issues or where you think you might want to do things differently next time.
Let's do this: Video Lesson # 1 and your first work around when needed.
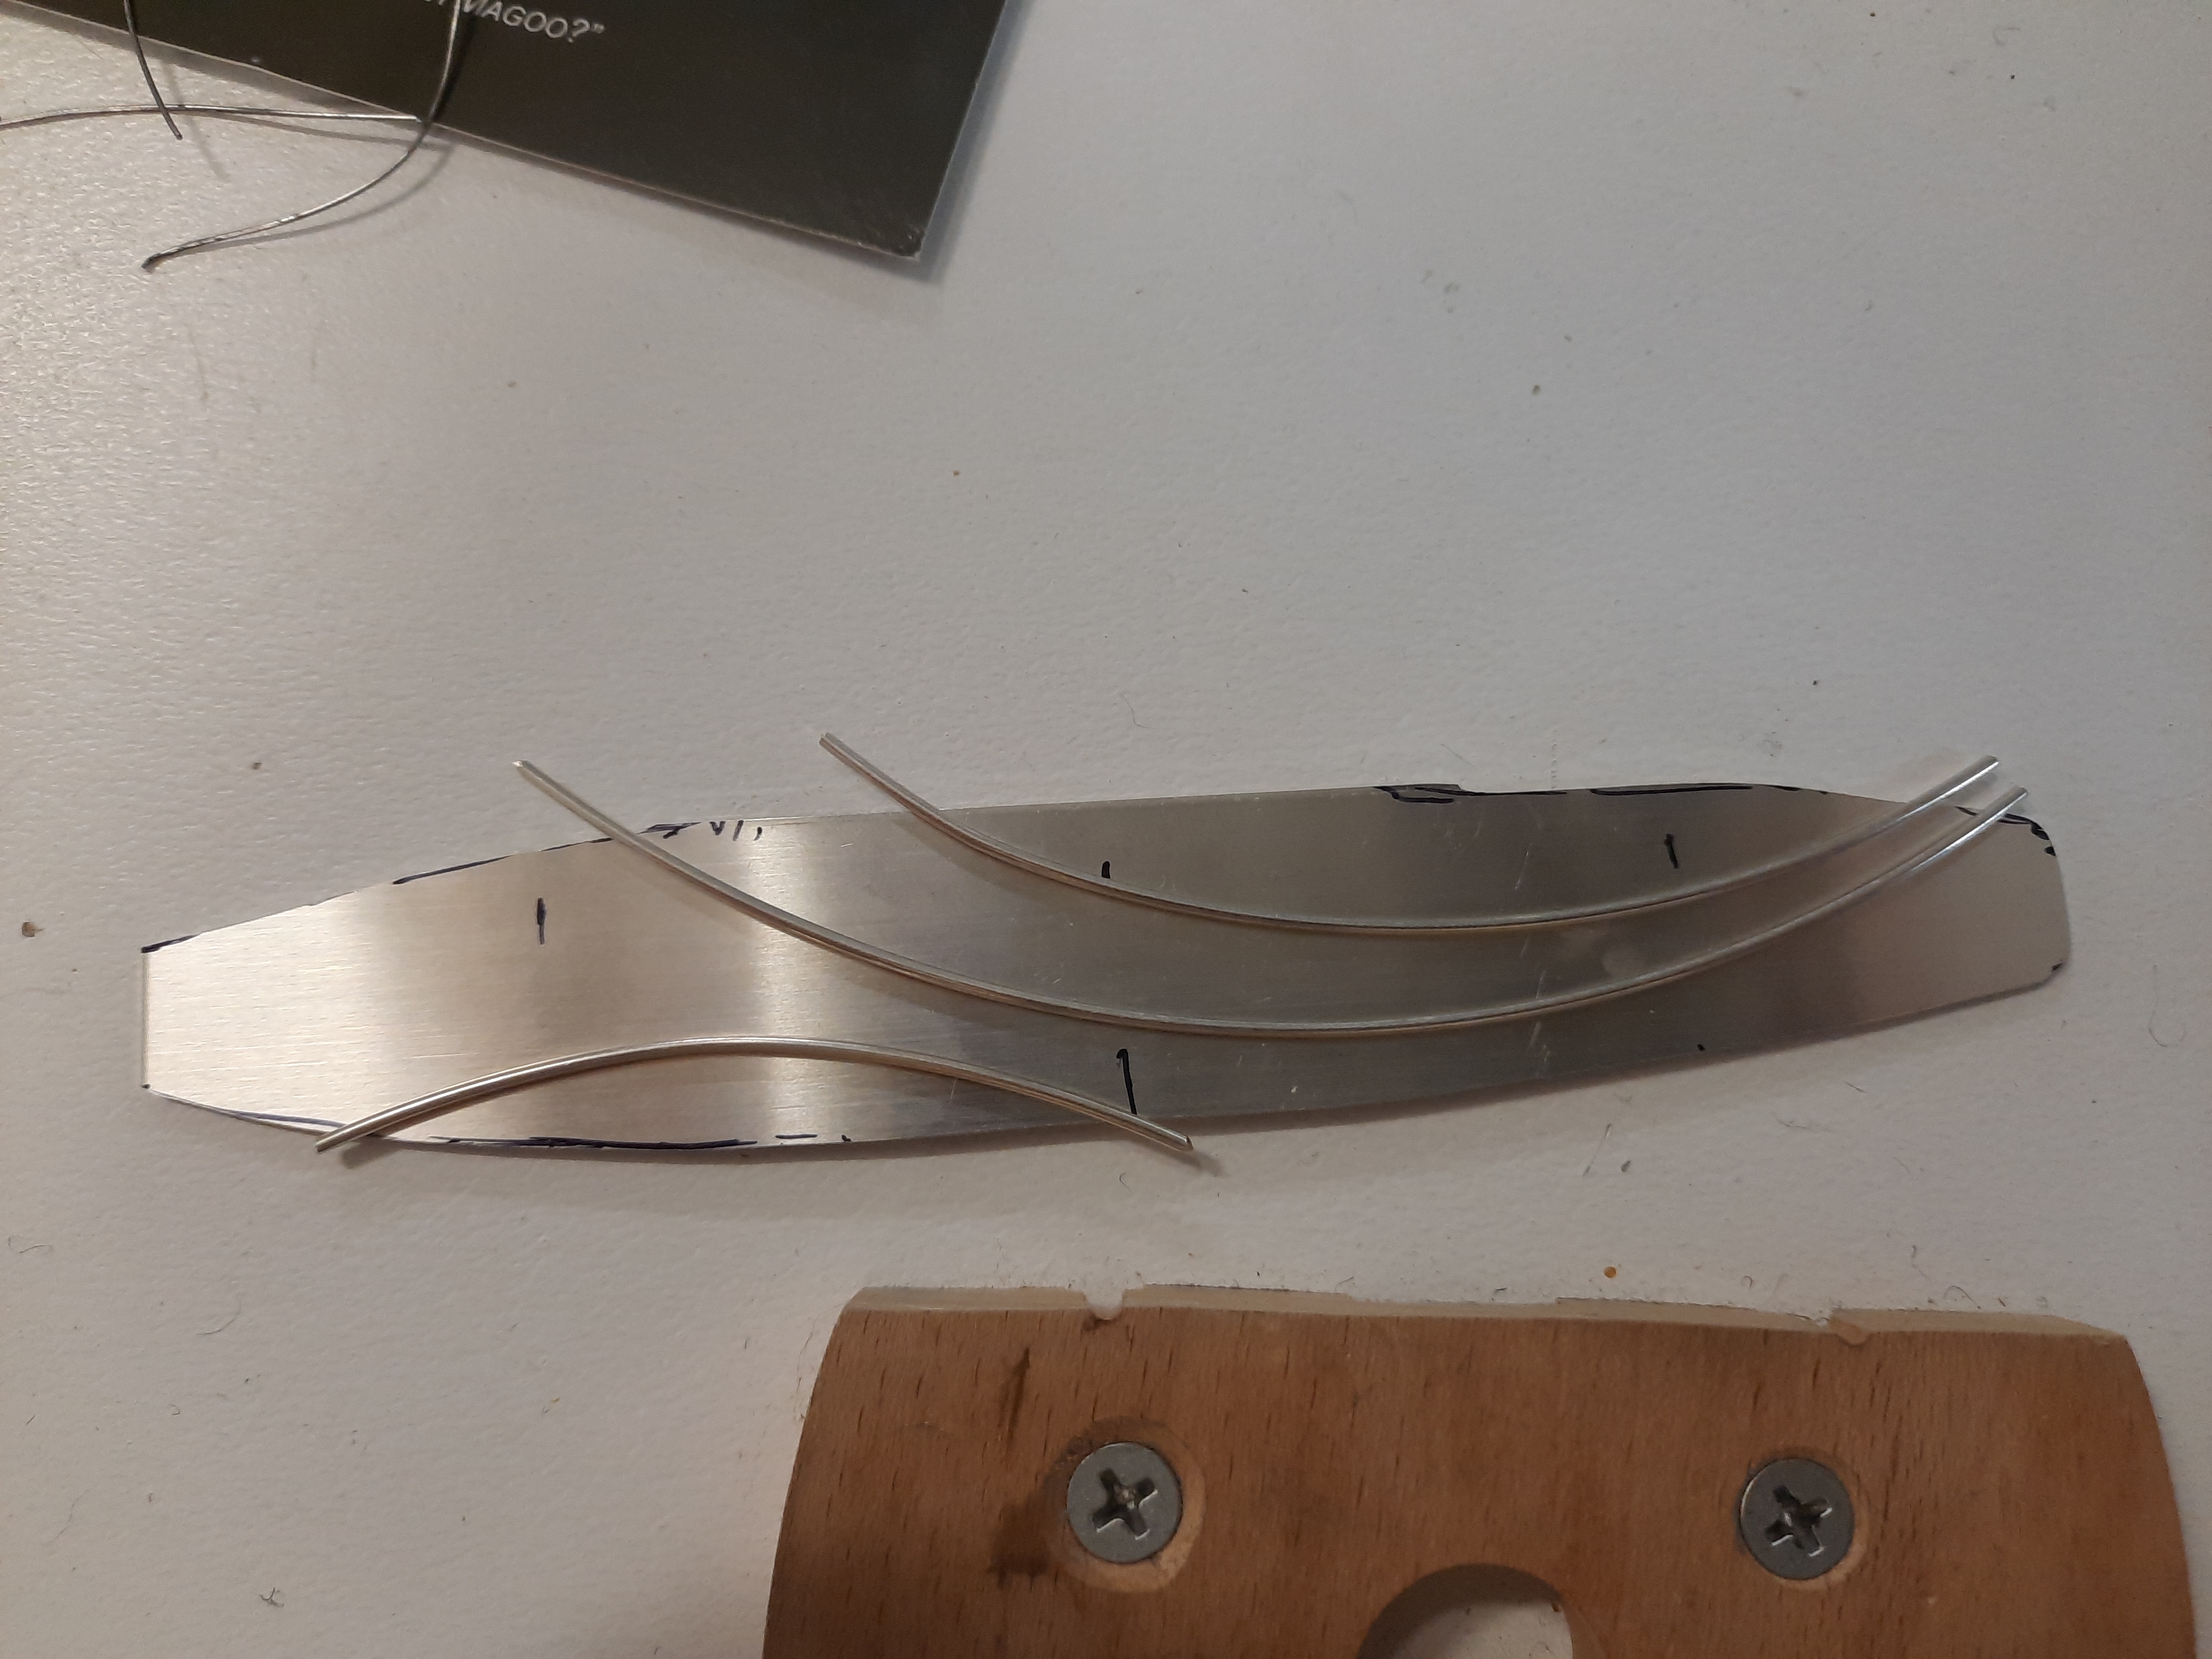
Another layout option instead of the wedge shape. Both rely on tapering the end(s) to have scrap to make dust.
Video Lesson #2 & 3 Dust & Granules
Making Argentium "dust" and granules or "balls"
Sterling "dust" fuses to the Argentium but not in the same way as Argentium dust and ends up being "clumpy" or unevenly textured. This is a different look and may be fine, but also may create problems when trying to fuse wires on top as it may not be flat enough. I suggest you spend the time to make Argentium Dust at least this first time, then experiment with your sterling later. (You'll gather more dust when you saw out the "scallops" later in the process. Make sure you collect all your "saw dust" as it is the best dust!)
Tip* make a bit of Argentium dust and a few granules. Do the "Test Fusing" to learn that. Now you can make dust out of your test" glob, which will be easier.
Tip* a worn charcoal block is the very best surface for creating granules.
Video Lessons #4 & 5. Preparing for Dusting.
#4 Lay out of dusted areas and preparing for dusting
#5 Applying the flux and dust.
Video Lessons # 6A, 6 & 7. FUSING
These 3 Lessons are why you are here; Learning the actual FUSING.
Fusing is scary at first. It IS controlled melting. It is very important to your learning to do the test fusing, and then going back and taking it all the way to full melt! If you do this very early, you can use this test glob of Argentium to make the rest of your silver dust.
If you are really unsure if the dust is really fused, let it cool, and take it to a clean sheet of paper and see if you can scrape any of the dust off. Use a solder pick or exacto to give a bit of a scrape. If more than a granule or 3 lets loose, you have not heated it enough, but can easily go back and reheat it to fusing. If you pickle an unfused piece, you will dissolve off your flux, which is the only thing holding on your dust, and you will lose your dust in the pickle and will be unable to salvage the dust.
Video Lessons #8 & 9 plus Work Around #2. Sculpting the Edges
This section is all about "Sculpting the Edges". This is most easily done with a "Little Torch" style torch with fuel & oxygen to boost the heat, resulting in a very hot tight (pinpoint) flame where you can localize the heat to "burn" or melt back just the edge so it rolls into a thick organic edge.
If you don't have one, your options are to saw scallops then sculpt with abrasive wheels to mimic the look or try the controlled melting of the edges with the air Acetylene torch like demo in Work Around #2. (one of my students proved to me that this WAS possible. Thank You Laurel !!) This technique often results in your dusted areas being over fused and smoother than before, but there are always compromises. ( I think I dusted it AFTER melting back the edges in demo video)
Video Lessons #10 parts A, B & C. Anticlastic Forming
This is a taste of "Anticlastic Forming". Below is a photo of the tools I prefer. You can make a wood end hook fairly easily or purchase one, or use the work around technique. The Nylon cross pein mallet is inexpensive enough to add your collection. (around 15$)
Video Lesson #11 Fixing a Crack or Adding a Ball to Edge
Yup. Sh*t Happens. We need to be able to fix it. Not a problem; Argentium is very forgiving that way.
Where it is NOT forgiving is with any kind of pressure at red heat ( or even cooler than red.)
Don't poke the bear and don't press on or move the Argentium when its hot. but if you do... oops, you can usually fix it in the same way we fix this crack. Flux first, fill with extra metal if needed, Fuse away! Clean up any extra metal or roughness with abrasives and polish. Done!!
If you have a major break (rolled wire texture too deep & make a weak spot?) Reinforce that broken or weak spot with another decorative wire and some decorative balls where needed. Fuse them on. You can keep fusing until you solder, then you can't, and must solder to add or fix from then on.
Video Lessons 12, 13, & 14. Finishing, Patination, Polishing.
The time spent on finishing and polishing is worth it in the finished look. It can be very time consuming. I have some comparisons between hand finish and mass finishing (tumbling, )so it's up to you, for the look you want.